Multiple Company Entities
Overview
The AR Multi Entity solution streamlines management by allowing you to handle multiple entities from a single AR Automation account. This feature is enabled by default from the backend, so you just need to follow specific steps to create entities and complete the setup. Multi-entity support is compatible with the following Accounting Systems: Intacct, NetSuite, and Microsoft Business Central.
Creating a New Entity
Follow these steps to create additional entities for your AR Account:
- Log in to your AR account (Top-level account).
- Connect your Top-level Accounting System account to your AR Top-level account.
- Go to Settings > Company Entities > New Company Entity.
- Submit the Company Entity details (such as name, address, External Accounting ID and other relevant information) and click Save Changes.
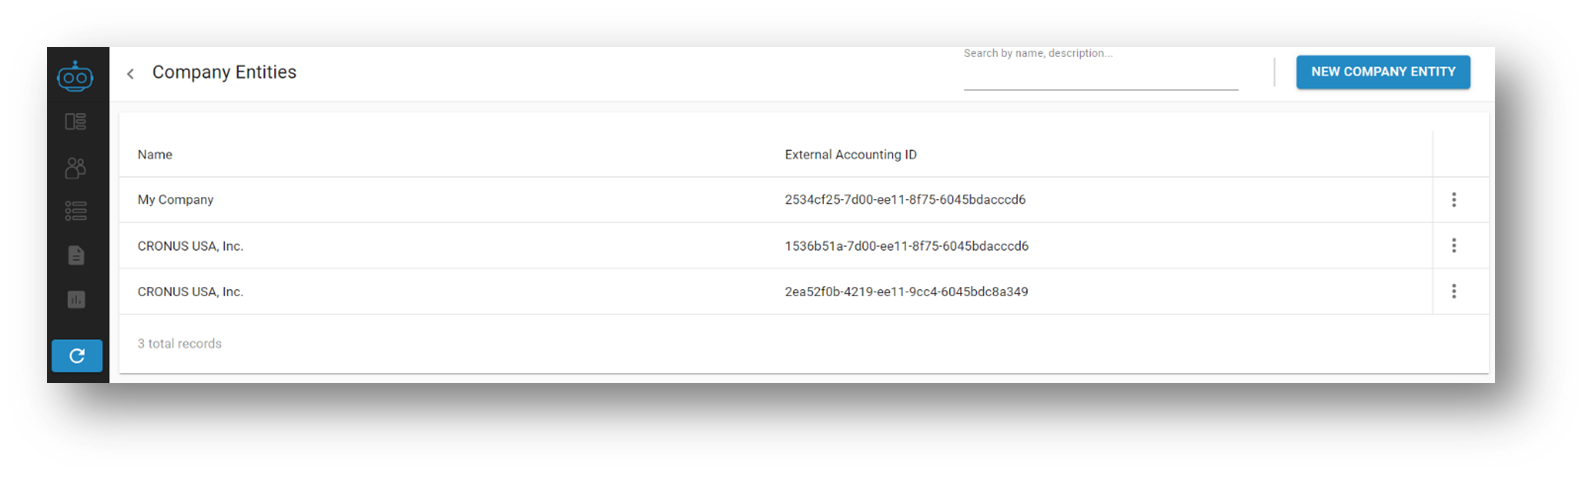
Viewing Added Entities
Once you’ve created sub entities, you can view them on the Company Entities page. Here’s how it looks:
Switching Between Entities
After setting up sub entities, the left navigation pane includes a Switch Company option that lets you seamlessly switch between different entities. Follow these steps:
- Click the Switch Company icon in the left navigation menu.
- A list of entities appears. Select the one you need to log in to.
Multiple Entities Setup with Accounting Systems
Intacct
By default, synchronization imports all data from the Intacct Top Level account and copies data across all entities in Armatic. However, if you’d like to distribute customers and other data to specific entities, follow these steps:
- Create a Custom Field in Intacct:
On the customer level, create a custom field where you can specify the entity ID or any other differentiating value. This field will help map customers to the appropriate entity in AR. - Configure Preferences in AR Account:
- Navigate to AR Account > Settings > Preferences page.
- Under the Accounting tab, locate the preference setting called “Custom Multi-Entity Field.”
- Specify the name of the custom field you created in Intacct to complete the mapping.
- Apply the Mapping to All Entities:
Ensure that you complete this action for all entities within your system.
For detailed instructions on connecting Intacct with AR Automation, refer to our guide: Connect with Sage Intacct.
NetSuite
In NetSuite, the customers and other data mapping is completed based on subsidiaries by default.
For integrating NetSuite with AR Automation, follow our guide: Connect with NetSuite.
Microsoft Business Central
In Microsoft Business Central, entities and their associated data are automatically mapped upon initial connection. No custom setup is required.
To connect Microsoft Business Central with AR Automation, follow our guide: Microsoft Business Central.
Updated 18 days ago